Tutorial
Welcome to Datamorf! Congrats for taking the first step into taking control of your data and orchestrate it. To get you started, we prepared this detailed guide that will introduce you to the essentials of GTM orchestration with Datamorf: workflows, integrations, extraction, trigger and transformations. Want to directly ask question to our Datamorf trained AI?
Data orchestration basics
What is GTM orchestration?
GTM orchestration is the process of connecting, synchronizing, and automating every touchpoint across your go-to-market engine: marketing, sales, customer success, product, and support.
Instead of scattered workflows and manual processes, orchestration creates a unified flow of data that keeps your systems aligned and your teams operating with the same context.
At its core, GTM orchestration ensures that:
The right data reaches the right tool at the right time
Teams get real-time, actionable insights
Repetitive tasks (routing, enrichment, alerts, updates, scoring, attribution…) happen automatically
Every customer interaction is consistent across channels
Think of it as the nervous system of your revenue organization, connecting signals, processing them intelligently, and triggering the right actions instantly.
What is Datamorf?
Datamorf is an orchestration platform built to help go-to-market teams connect all their tools into one unified automation engine. Actions get triggered by specific events and data is always updated across your whole stack, removing manual repetitive tasks and inconsistent data.
With Datamorf, you can:
Automate multi-step GTM workflows end-to-end
Move and transform data across systems in real time
Build reliable, reusable automations that scale
Replace scattered scripts, manual exports, and brittle integrations
Operationalize your GTM strategy across marketing, sales, CS, and support
If GTM orchestration is the nervous system, Datamorf is the brain that makes everything work together.
What is a Workflow?
A workflow in Datamorf is the structured sequence of automated steps, that defines how incoming data is processed and where the final results are sent. It acts as the core automation unit of the platform, executing these instructions whenever the trigger condition is met.
The workflows are structured in 3 sequential layers:
Source layer: Here we get all data we'll need to run the workflow. The incoming data from your triggering HTTP request is the first data piece, but you can also call data providers, get data from your CRM or simply call any API endpoint
Computation layer: The magic happens here. All the data collected in the previous step is processed it with no-code computation engines. You can do anything you want: from renaming properties and validate data formatting to parsing lists and even call chat GPT to generate related content.
Activation layer: The finish line for your data. This is where your processed data gets sent, like to another API or a data storage solution. The destination can be your CRM, a database, or another API endpoint.
Creating a workflow is as simple as connecting these three elements. Whether you’re sending data to Hubspot, updating Salesforce, or just crunching numbers for better insights, DataMorf handles it smoothly.
How to create your first workflow
Now that you understand the basics, let’s build your first workflow in Datamorf.
1. Define your trigger
Every workflow starts with a trigger, the event that tells Datamorf when to run.
You can choose from triggers such as:
A new event from integrated app (e.g., a new deal or stage change in HubSpot)
A webhook event coming from an external system
A scheduled trigger (hourly, daily, weekly)
Data sent by the Datamorf’s extractor
Example:
“Every time a lead is created in HubSpot, start the workflow.”
The trigger sets the pace of your automation. Depending on your use case you might chose one or another. For example, the webhook is useful when the app from where you want to send data doesn’t authorise direct trigger. If you want to run your workflow every hour, then select Schedule.
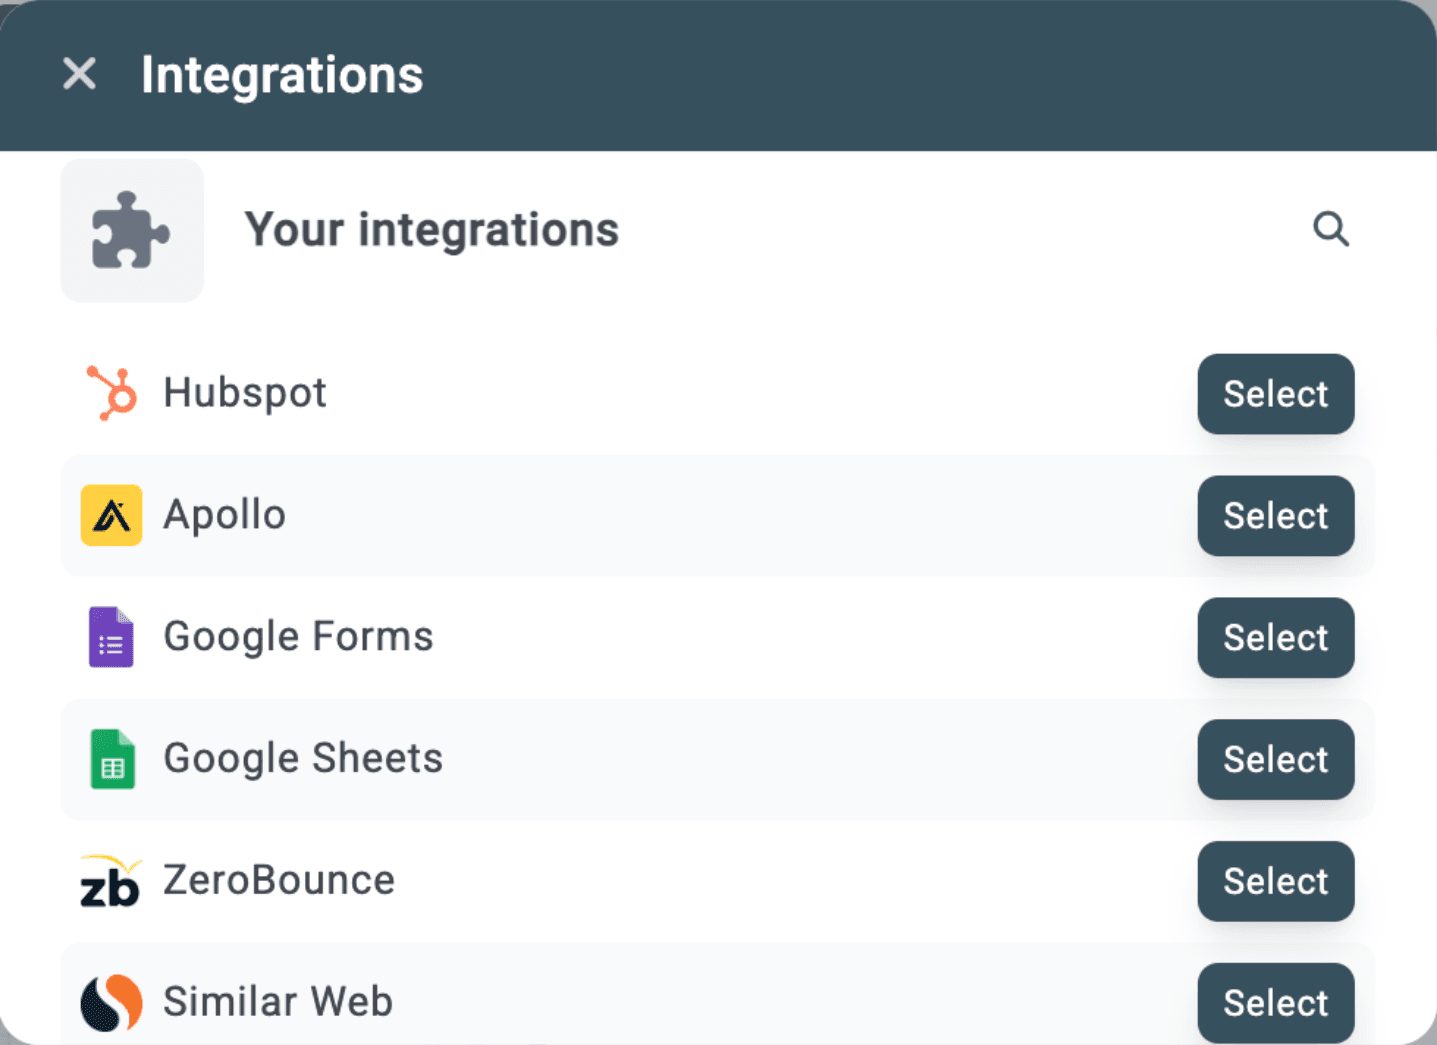
2. Add additional data
Once the workflow starts, you can enrich the initial data with additional context from other tools. This is where true orchestration begins.
For example:
Pull company details from Clearbit
Fetch product usage from your database
Retrieve account owner from your CRM
Get task or project details from ClickUp
Check subscription status from Stripe
Datamorf allows you to extract data from multiple systems so you can make smarter decisions downstream.
3. Transform the data
Before sending data to your destinations, you often need to reshape, clean, or enrich it. Datamorf provides flexible transformation blocks to prepare your data exactly the way you want.

You can:
Format names, emails, and IDs
Build conditional logic (IF/ELSE)
Use AI promts
Map fields
Standardize values
Merge objects or lists
Create computed attributes
Once you’ve selected the action, chose which inputs you wish to transform and finish by naming your transformation. Use a clear name so you and your team will know easily what each transformation does in the future.
Finish this step by running a test of the transformation before going to the next step. You can modify your transformation until you’re satisfied by the result.
4. Load the data to your destinations
Now you can push the processed data wherever it needs to go.
Datamorf integrates with your full GTM stack, letting you update or create records, send messages, route tasks, and trigger actions across tools.
Once your’ve selected the destination, you’ll need to define the object and the operation that you which to make. For example if you want to send an email, the object will be Email and the operation Send.

Depending of which destination you’ve chosen, some additional properties are required. In the case of the email, you should define the subject, to which email it should be send, and then write the email if needed.

5. Finish your workflow
Congrats you finished your first workflow! You can now run some test to verify everything works smoothly. You can either:
Run the full workflow, from trigger to destination, which will be counted as one workflow run within your monthly subscription.
Run a test until before the destinations, which do not count toward your monthly workflow run quota, making them ideal for setup testing and debugging.
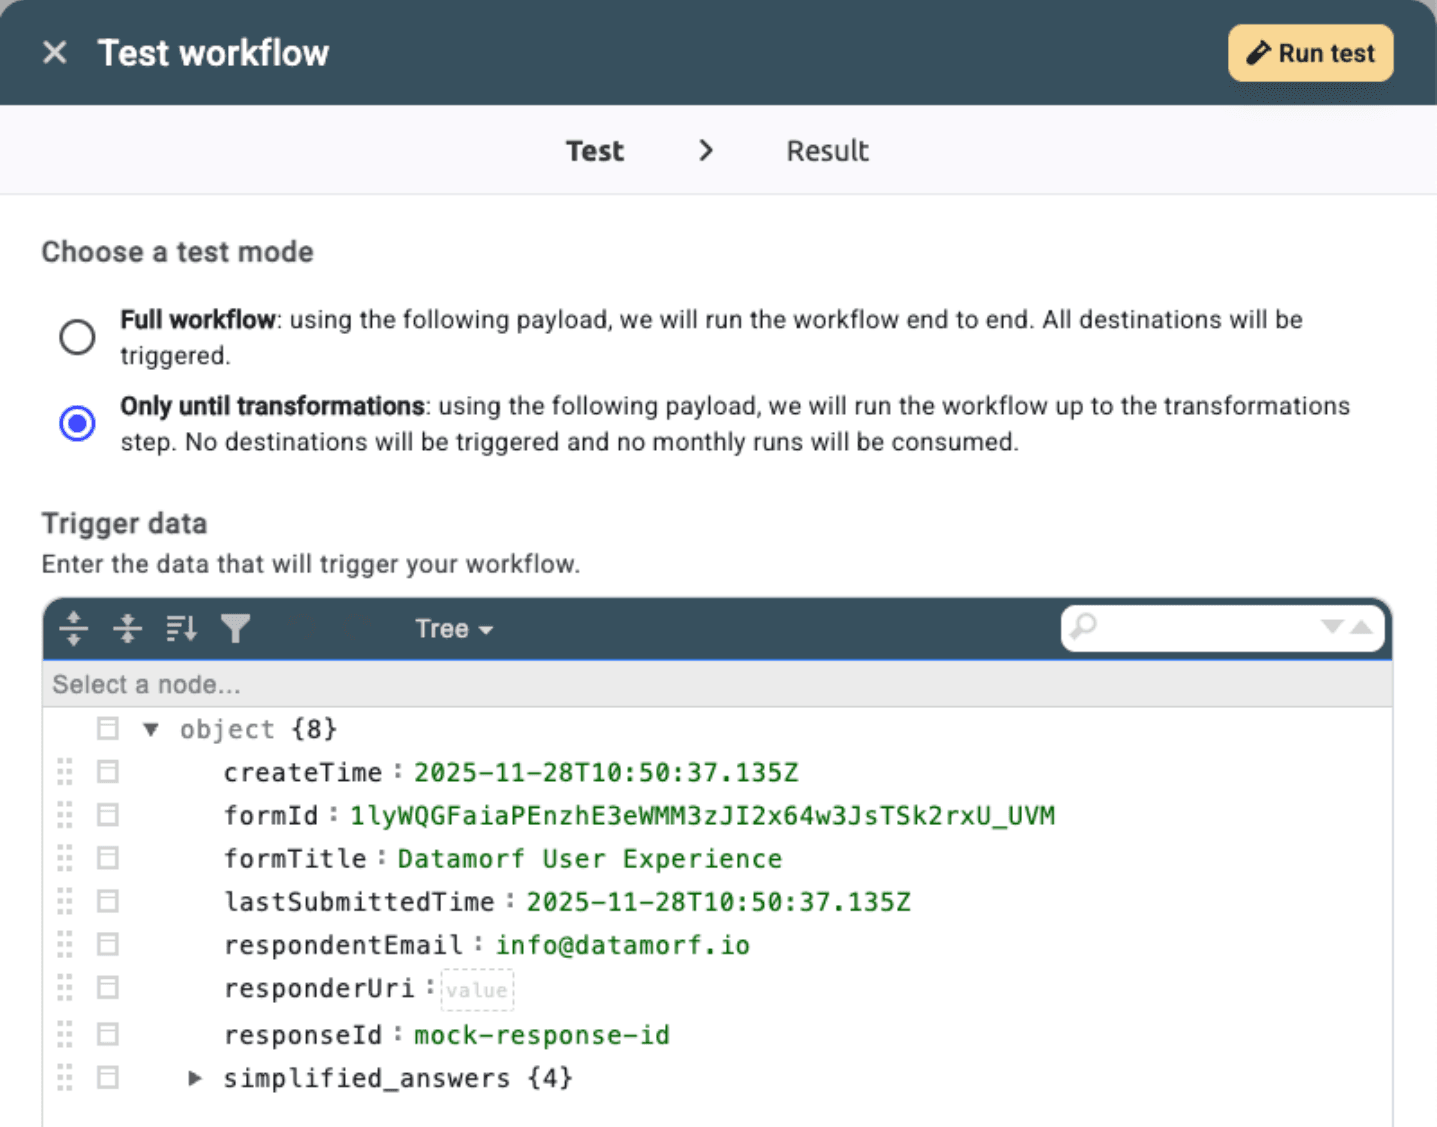
If you selected a built-in trigger then the received data will be pre-formated in the JSON viewer. If you selected webhook, since Datamorf doesn’t know how the data looks like, you can either:
send manually the data to the workflow from your external tool,
or directly write how the data will look like in the JSON viewer
Once you’ve tested your workflow and made the potential iterations, you can save and activate your workflow. It will now be activated automatically by your trigger and all necessary actions will be executed, fully automated, fully orchestrated.
You’re ready to build your first automations
With these fundamentals, you’re ready to create workflows that eliminate manual work, improve data consistency, and scale your GTM operations.
Share