Tutorial
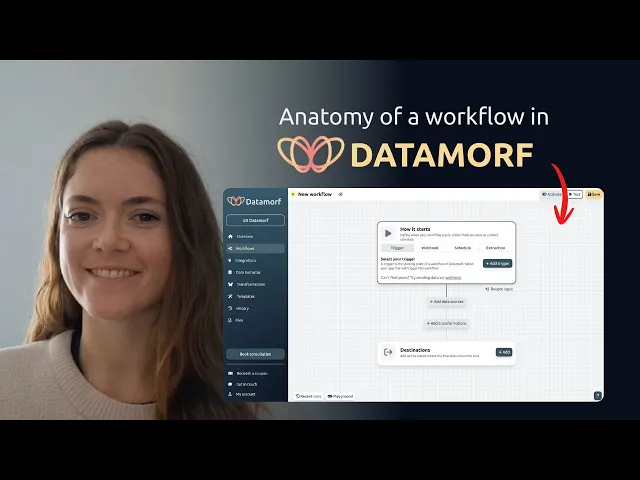
Workflows are the backbone of automation. They define what happens, step by step, when certain conditions are met. In Datamorf, every workflow follows the same structure, made up of four main steps.
1. Trigger
The trigger defines how or when a workflow starts.
Sometimes we can connect directly with a platform, so the workflow is triggered automatically without you needing to configure anything. Obviously, that’s the easiest option, but it’s not always available.
Most of the time, workflows are triggered in one (or more) of four ways:
Direct integrations: automatic triggers from connected apps. If you see your app in the trigger section, congrats! Your setup will be as smooth as one simple click. Otherwise you will likely need to rely on webhooks.
Webhook: each workflow has a unique URL endpoint. Send a request with some data, and the workflow will start right away.
Schedule: run the workflow on a set interval (every hour, every 12 hours, every day, etc).
Extraction: start a workflow from a Datamorf data extraction.
No matter which trigger you choose, this is always the very first step in the workflow.
Recent input
When a workflow starts, it usually receives some initial data. For example, if the trigger is “new email received,” that input could be the email content, sender address, subject line, and so on.
If the workflow has already run at least once, Datamorf will automatically capture and display this input as Recent Input. This preview helps you understand the structure of your data and powers the auto-suggestion feature when filling out fields later.
If the workflow is brand new, or if you expect the data structure to change but it hasn’t yet, you can manually open the Recent Input box and edit the structure yourself.
This step is completely optional, but enabling suggestions early on will make building and mapping your workflow much smoother.
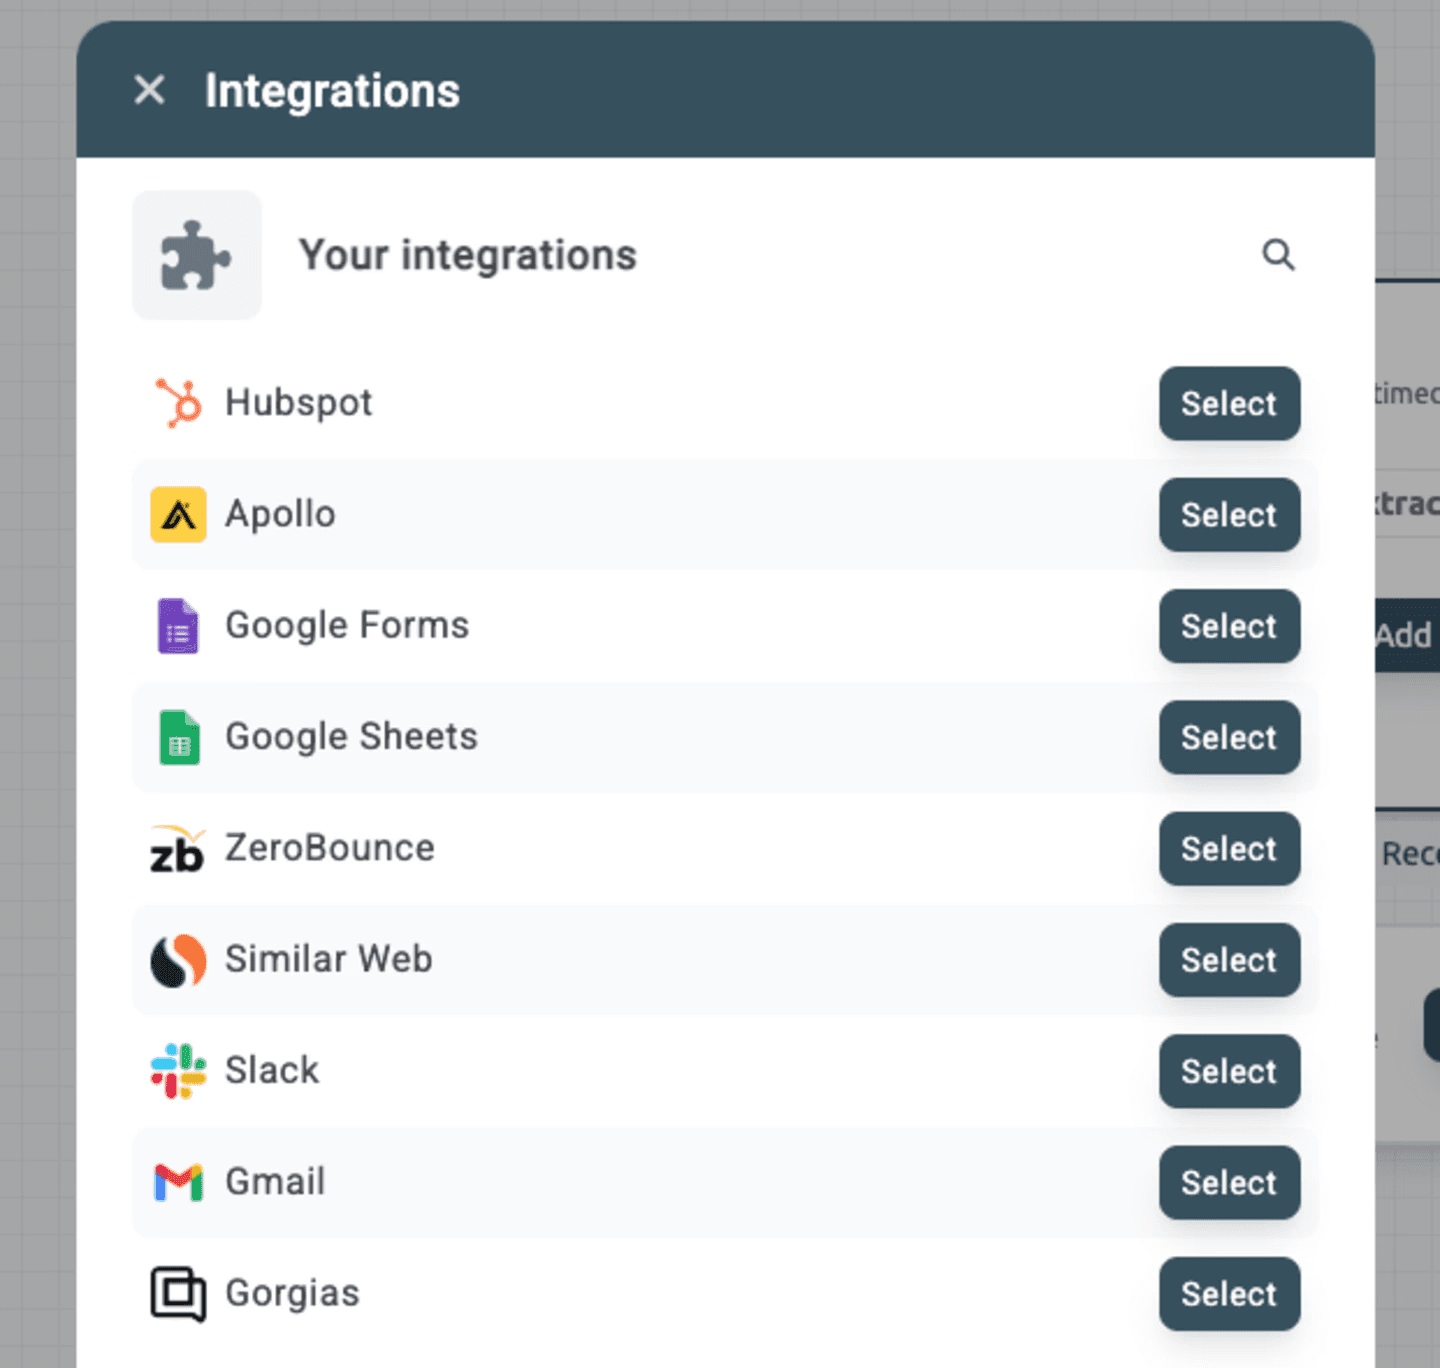
2. Data sources
The second step is about bringing in any additional data you might need. This usually means fetching information from another platform using details from the trigger or input data (for example, a contact’s email or a company domain).
Some common use cases include:
Looking up extra details for a record in your CRM.
Running a query in your database.
Checking if a record already exists.
Enriching data through providers like Apollo.
This step is optional and depends entirely on your use case: sometimes the trigger data is already enough.
You can add as many sources as you need. Datamorf also includes built-in options like enrichment and scraping, available on a pay-as-you-go basis, so you don’t need extra integrations and headaches to make it run.
Sources are executed sequentially (one after another), and you can attach conditions to each one. This allows you to build powerful waterfall systems, where one source feeds into the next or skip certain sources entirely if a condition isn’t met.
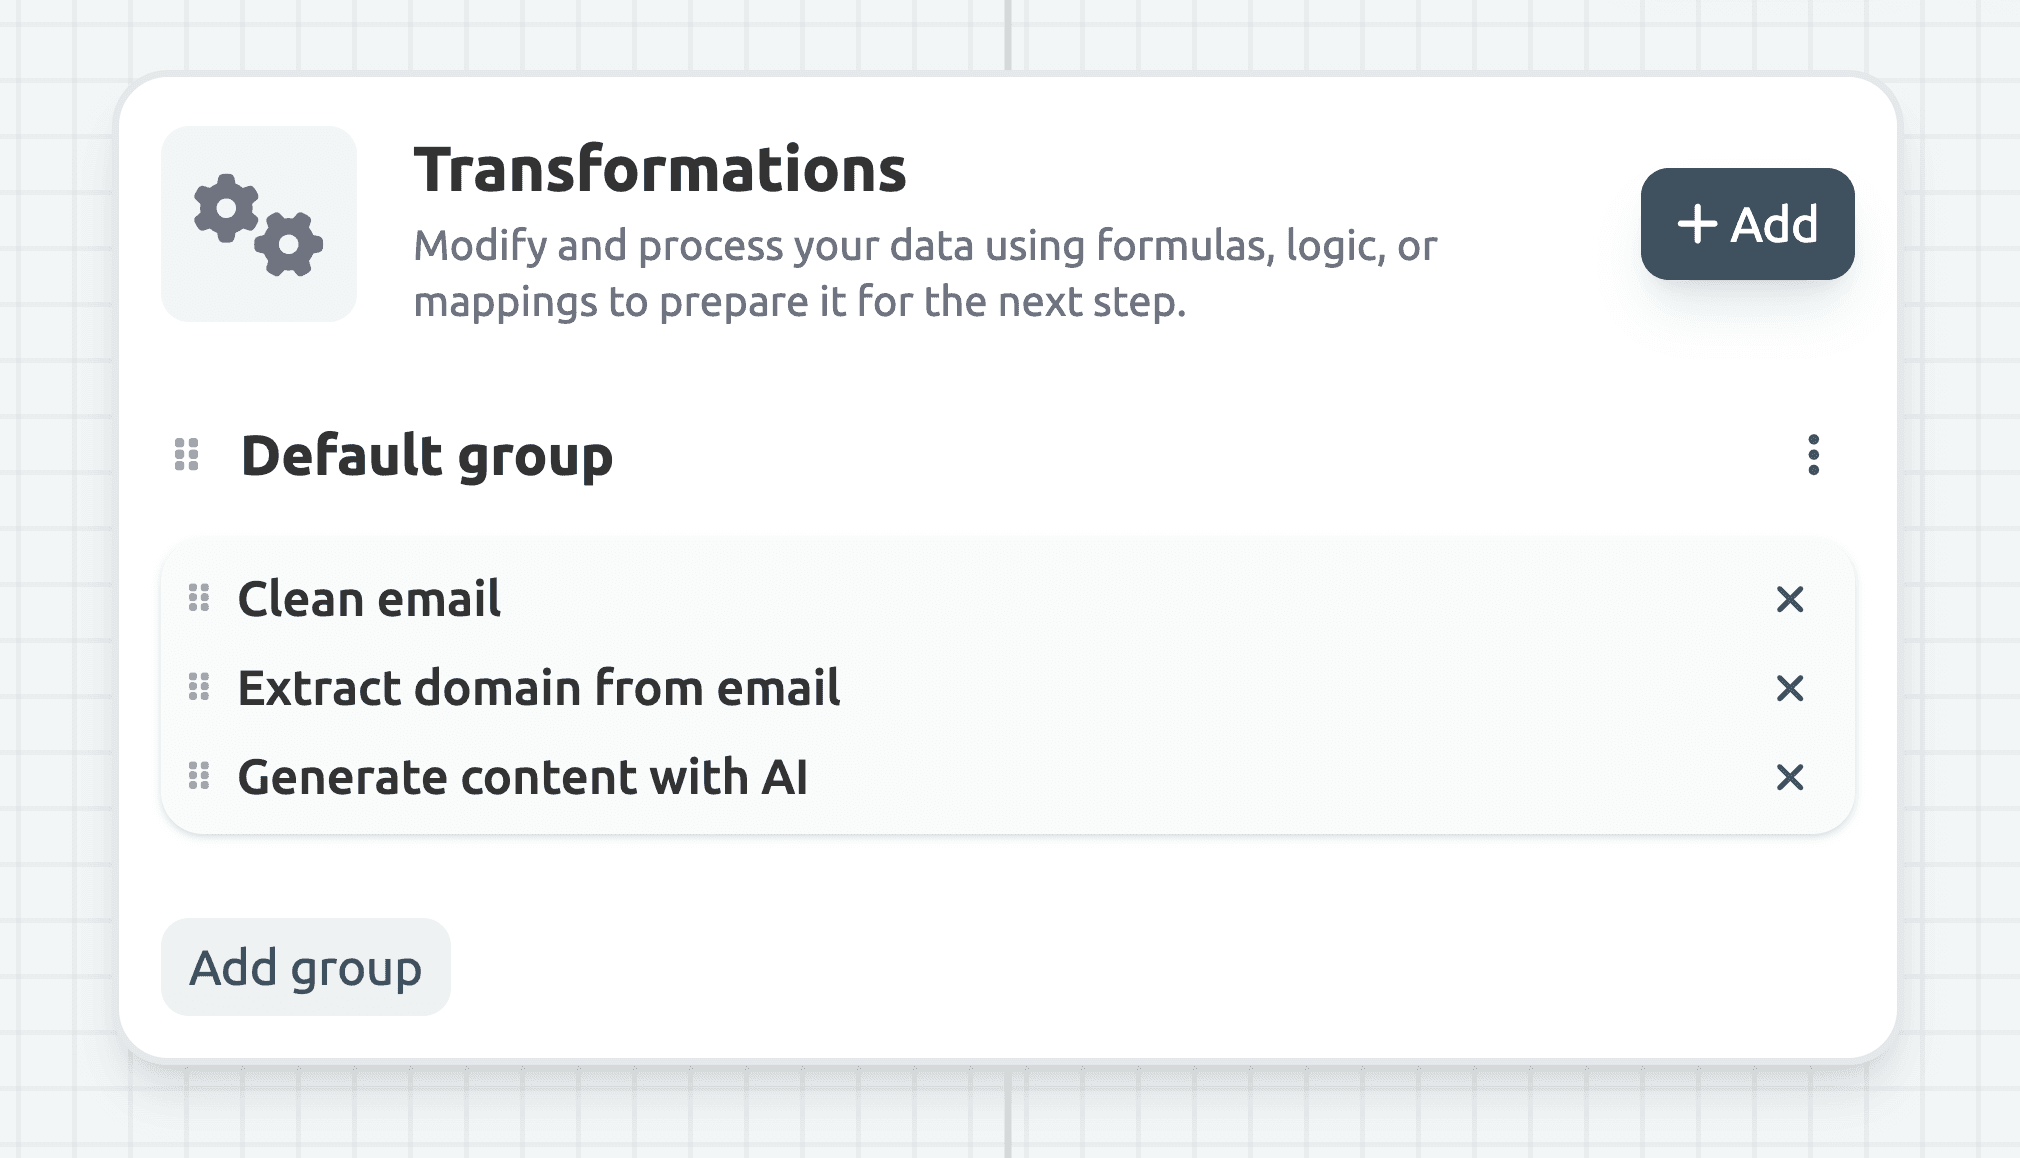
3. Transformations
The third step is the most technical, but also the most powerful, and one of the biggest differentiators of Datamorf. Transformations let you reshape any datapoint with a wide range of prebuilt tools.
Think of them as small functions: each takes an input, modifies it, and returns a new output. You can chain multiple transformations together for more complex logic, or keep it simple with just one.
Some examples of what you can do with transformations:
Standardize fields (phone numbers, job titles, formats).
Extract email names and domains.
Normalize messy values.
Call AI models with custom prompts to generate or classify data.
Run your own JavaScript for complete flexibility.
This step is optional (sometimes your data is already in the right shape) but when needed, transformations give you the power to fine-tune every detail.
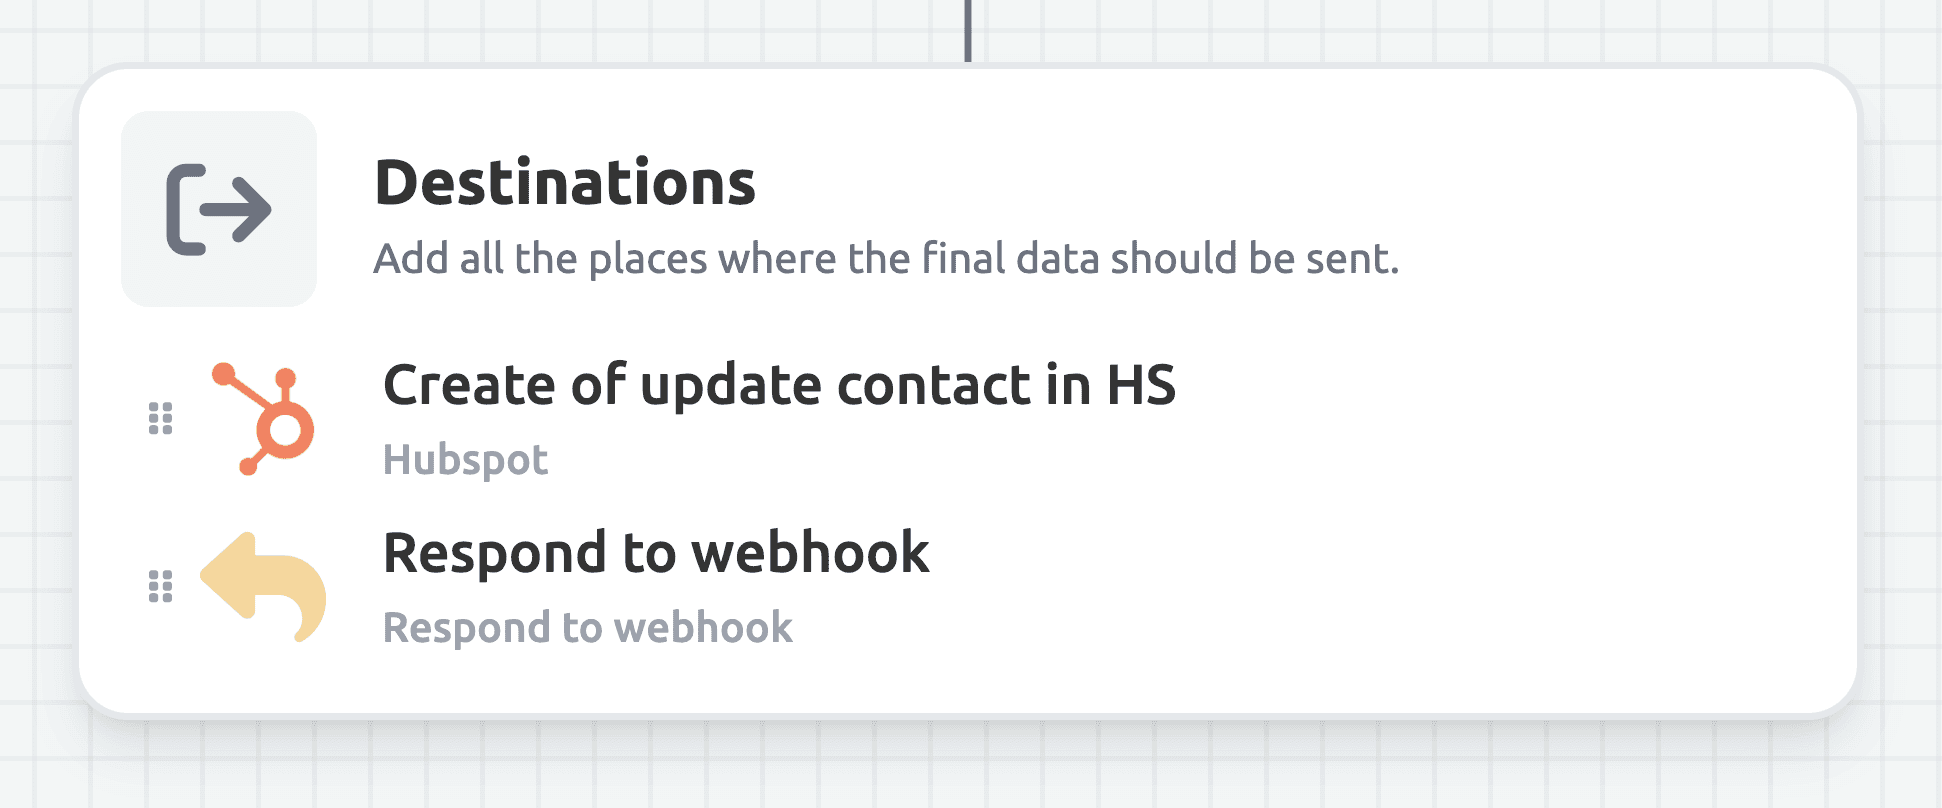
4. Destinations
Destinations are the final step of a workflow: your own platforms and tools where the processed data will be delivered. All the information collected and transformed in the previous steps flows into these endpoints.
Each destination includes a builder that lets you choose exactly which datapoints to send and how to map them to the correct fields in the target platform.
You can also configure conditions so that a destination only triggers if certain criteria are met, giving you full control over where and when your data is delivered, or chain multiple destinations so they will all run on a single workflow execution.
Conclusion
A workflow is made up of four steps executed sequentially: it starts with a trigger, can optionally pull in extra data through sources, processes it with transformations, and finally delivers the results to one or more destinations.
Every execution (or run) is logged for debugging. Logs include the incoming payload, the output of each source, the results of the transformation layer, and the response from every destination.
Log retention depends on the workspace tier. For example, free plans can access logs for three days, while enterprise plans may keep them for a month or more. After that period, logs are deleted automatically, ensuring data-sensitive policies where no information is stored longer than necessary.
Share